Google Drive Backup
Posted by Mike Jackson on Apr 1, 2014 in Blog, Tutorial | 0 commentsThere’s a fantastic plugin called Updraft Plus that we’ve been using to back up client websites. The free version of the plugin allows your WordPress website to back up its files and database automatically to the cloud with no effort on your part once configured. How great is that?
You can use UpdraftPlus with Amazon S3, Dropbox, or Rackspace, but for the purpose of this tutorial we’re choosing Google Drive as our backup destination. The instructions are long, but don’t worry. We’ve got you covered with detailed screen captures to guide your way. This is all less complicated than it seems so just take it a step at a time.
First, you’ll need a Google account to take advantage of the 15GB of free cloud storage that Google Drive offers. If you want to use Google drive to backup files on your computer as well, follow these instructions to install Google Drive on your Mac or PC.
Installing UpdraftPlus
- From the WordPress dashboard, go to Plugins, click Add New and search for “updraftplus“. You should see “UpdraftPlus – WordPress Backup and Restoration” at the top of the list. Click Install Now.
- To configure the plugin, click “Settings” or from the WordPress Dashboard go to Settings > UpdraftPlus Backups.
- Scroll down to the section labeled “Copying Your Backup To Remote Storage” and select Google Drive. You can ignore the other settings for now. The only thing you need here is the “authorized redirect URI“. Copy that address to your clipboard for later use.
- To connect the plugin with your Google Drive, go to the Google API console. The link here opens in another browser tab for your convenience.
- Click the red Create Project button. A dialogue box will pop up. Name your project whatever you’d like. The project ID will auto-fill. Click Create. The popup will close and you’ll see the new project added to the list.
- Click the Project Name that you just added.
- From the left menu of the next screen, click APIs and auth. Then click APIs as it appears in the menu directly below.
- From the list on the right, activate Drive API by clicking from off to on. You may need to scroll down the page to find it.
- From the left menu under the APIs heading, click Credentials. In the refreshed column to the right, click the red Create New Client ID button that appears.
- In the dialogue box that pops up, make sure the “Web Application” radio button is checked (which is the default).
- In the Authorized JavaScript origins field, fill in just your website domain (ex. http://www.YOURWEBSITE.com).
- In the Authorized Redirect URI field, copy the link from the UpdraftPlus settings page (See step 3). Go back and get it now if you need it. Then click the Create Client ID button. The popup will close and a new Client ID entry will be added.
- Copy the Google Drive Client ID and Google Drive Client Secret to the corresponding fields on the UpdraftPlus settings page back in WordPress.
- For the Google Drive Folder ID field, you’ll need to go back to Google Drive and click the red Create button. Select Folder to make a directory to store your website backup.
- Click the Folder Title to navigate to that directory. From your browser address bar, highlight and copy the last snippet of the address after #folders/. Paste that snippet to the Google Drive Folder ID field back on the UpdraftPlus Settings page.
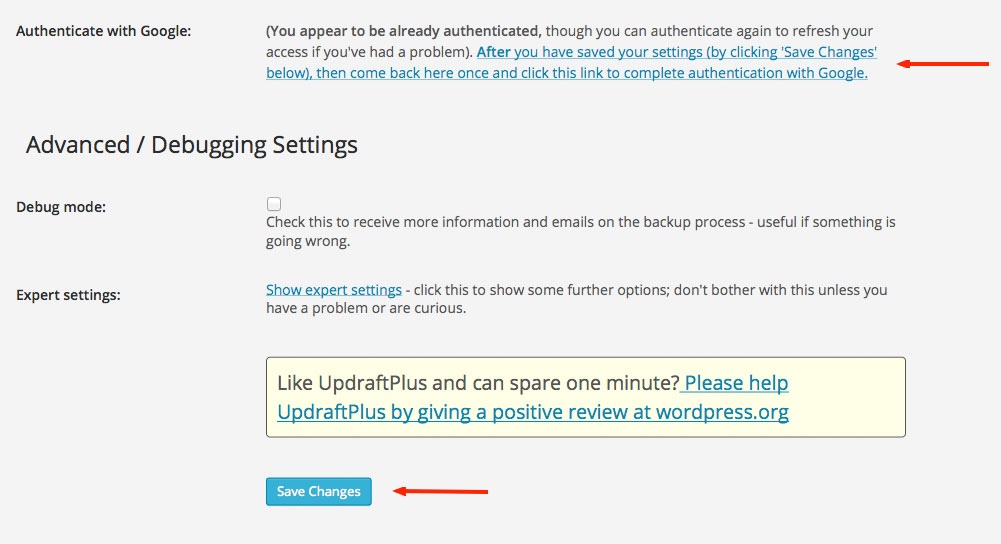
- Scroll the bottom of the settings page and Save. Then click the link to Authenticate with Google.
- Accept to complete the authentication and allow your website to save to Google Drive.
- You can now go through the settings for UpdraftPlus and set the frequency of your backups, how many backups to retain, and what will be copied to Google Drive. I recommend daily database backups and the default file settings (backing up Plugins, Themes, and Database). With those, you’ll be able to restore your site from catastrophic failure.
- Click Backup Now at the top of the setting page (if an automated backup isn’t already running) and check Google Drive to verify that the backup files are there.